この記事は、ハシゴ Advent Calendar 2020の 4 日目の記事です。
今日も相変わらず JAMStack なプロダクトの話ですが、ちょっと毛色を変えて、リリースフローの話をしようと思います。2020 年 12 月現在、ship.js1 を使って、リリースの半自動化を行っており、超絶快適な CD 環境となっています。
気軽にリリースできるというのは、DX に大きく寄与しますよね。
ブランチ戦略
まずリリースフローの前に、ブランチ戦略をお話しておきます。
- develop: デフォルトブランチ
- master: リリースブランチ
開発は develop から feature を切って develop に PR でマージ、リリース時は release ブランチを切るのはめんどくさいのでちょっと簡略化して、develop を master にマージしています(していました)。
develop、master にマージされたあとは、Amplify の方で webhook を検知して、勝手に各環境に deploy が走ります。
で、ここでちょっと面倒だなーと思っていたのが、develop から master へのマージです。もちろんただ PR 投げてマージするのは簡単なんですが、タグ切ったり、CHANGELOG 書いたりするのは、ちょっと面倒です。ちょっと面倒なので、一切やってませんでした。
が。
やっぱりそれじゃちょっとマズイじゃないですか!マズいですよね?
ということで、ship.js を使って、ここのフローを整えました。
ship.js 導入後
develop にマージする、所謂開発フローはそのままに、その後のフローを変えています。
- そろそろリリースしようかなーと思ったタイミングで、
- issues を切って、
- comment を付けると、
- GitHub Actions が走って PR が出来て(to develop)
- (PR 出来たら issues は閉じる)
- PR をマージすると、
- タグ打ち
- master へのマージ
- からの deploy
というフローになりました。
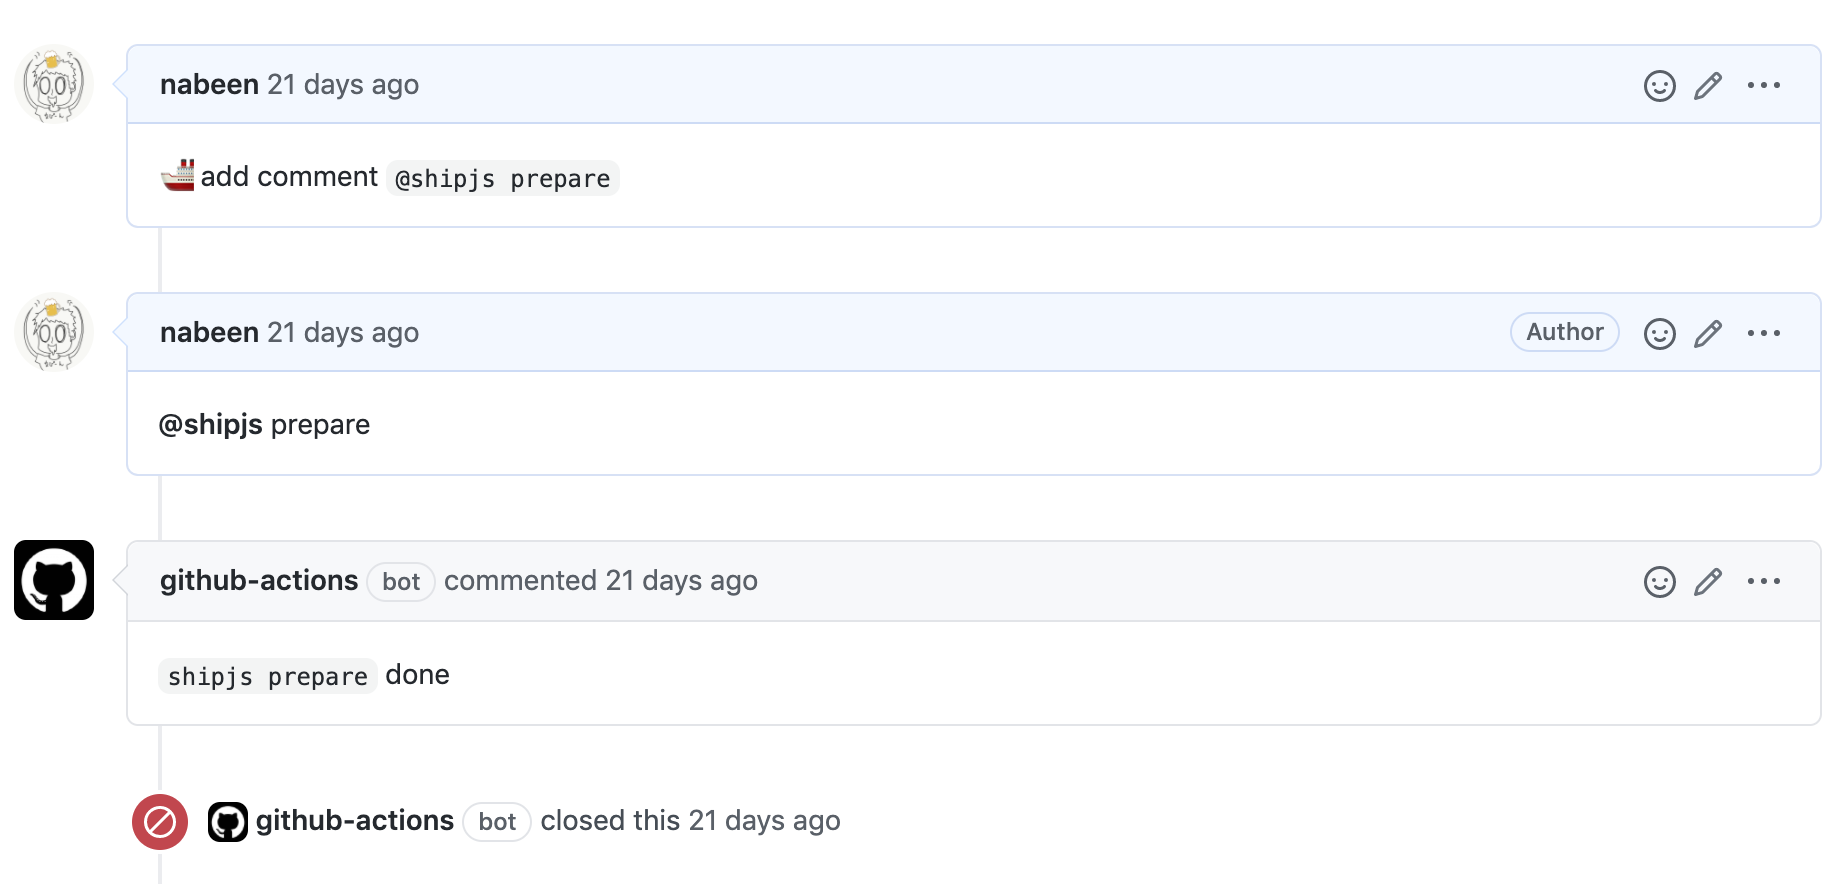
↑ 実際にはこんな感じで、comment に反応して PR の作成から close までやってます。
一見実装めんどくさそうですが、ship.js 導入時に、デフォルトで GitHub Actions 自体は作ってくれるので、それを若干カスタマイズしただけです。
この Actions で issues の comment をフック、issues の close などなど、
name: Ship js Manual Prepare
on:
  issue_comment:
    types: [created]
jobs:
  manual_prepare:
    if: |
      github.event_name == 'issue_comment' &&
      startsWith(github.event.comment.body, '@shipjs prepare')
    runs-on: ubuntu-latest
    steps:
      - uses: actions/checkout@v2
        with:
          fetch-depth: 0
          ref: develop
      - uses: actions/setup-node@v1
      - run: |
          if [ -f "yarn.lock" ]; then
            yarn install
          else
            npm install
          fi
      - run: |
          git config --global user.email "github-actions[bot]@users.noreply.github.com"
          git config --global user.name "github-actions[bot]"
      - run: npm run release -- --yes --no-browse
        env:
          GITHUB_TOKEN: ${{ secrets.GITHUB_TOKEN }}
          SLACK_INCOMING_HOOK: ${{ secrets.SLACK_INCOMING_HOOK }}

  create_done_comment:
    if: success()
    needs: manual_prepare
    runs-on: ubuntu-latest
    steps:
      - uses: actions/github-script@v3
        with:
          github-token: ${{secrets.GITHUB_TOKEN}}
          script: |
            github.issues.createComment({
              issue_number: context.issue.number,
              owner: context.repo.owner,
              repo: context.repo.repo,
              body: '`shipjs prepare` done'
            })
            github.issues.update({
              issue_number: context.issue.number,
              owner: context.repo.owner,
              repo: context.repo.repo,
              state: 'closed'
            })
  create_fail_comment:
    if: cancelled() || failure()
    needs: manual_prepare
    runs-on: ubuntu-latest
    steps:
      - uses: actions/github-script@v3
        with:
          github-token: ${{secrets.GITHUB_TOKEN}}
          script: |
            github.issues.createComment({
              issue_number: context.issue.number,
              owner: context.repo.owner,
              repo: context.repo.repo,
              body: '`shipjs prepare` fail'
            })
この Actions でリリースしています。npm publish はしないので、その部分の環境変数抜いたくらいで、他はデフォルのままのはずです(多分)。
name: Ship js trigger
on:
  pull_request:
    types:
      - closed
jobs:
  build:
    name: Release
    runs-on: ubuntu-latest
    if: github.event.pull_request.merged == true && startsWith(github.head_ref, 'releases/v')
    steps:
      - uses: actions/checkout@v2
        with:
          fetch-depth: 0
          ref: develop
      - uses: actions/setup-node@v1
        with:
          registry-url: "https://registry.npmjs.org"
      - run: |
          if [ -f "yarn.lock" ]; then
            yarn install
          else
            npm install
          fi
      - run: npx shipjs trigger
        env:
          GITHUB_TOKEN: ${{ secrets.GITHUB_TOKEN }}
SLACK_INCOMING_HOOK: ${{ secrets.SLACK_INCOMING_HOOK }}処理自体はship.config.jsに書いており、afterPublish内で master に merge することで実現しています。
module.exports = {
  buildCommand: () => null,
  publishCommand: () => `echo publish is nullish`,
  afterPublish: ({ exec }) => {
    exec(
      `git config --global user.email "github-actions[bot]@users.noreply.github.com"`
    );
    exec(`git config --global user.name "github-actions[bot]"`);

    exec("git checkout master");
    exec("git merge develop");
    exec("git push origin master");
  },
};publishCommandは何も実行したくないので、空で入れたいところですが、空文字でもnullでもなんかダメだったので、適当に入れてます。文字列を入れた場合は、ここがそのまま評価されて実行されるような処理が書いてあったので、苦肉の策でただただ echo しました。
ここまで見てもらって分かる通り、リリース時にやることは、issues 作って comment して、PR を merge する、ただそれだけになりました。これだけでタグも打ってくれて CHANGELOG も勝手に作ってくれます。幸せですね!
妥協した点
ただ唯一妥協した点があります。察しのいい方はお気づきかもしれませんが、ship.config.js内で以下の処理を実行しています。master に develop を merge して push する、、、
exec("git checkout master");
exec("git merge develop");
exec("git push origin master");そうです、master の protection ルールを外さざるを得ませんでした。本来であれば、PR 経由でレビュワーありで CI が通ってないとダメ、みたいなルールをかけるんですが、直接 push するしか術がなかったため、ここだけは妥協しています。
もしかしたら他にも方法あるかもしれないので、なにかご存知の方はこっそり教えて下さい:)
おわりに
今回紹介した ship.js 以外にも、似たような機能の OSS はあると思うので、いくつか試してみるのがいいかもしれません。ただこういうプロダクトは、リリース前じゃないと色々試しづらいので、なるべくリリース前に導入しておきたいですね。